Key Takeaways
- Shower sealing combines epoxy regrouting, silicone replacement, and waterproof coatings for complete protection
- Properly sealed showers prevent water damage to framing, plasterboard, and adjacent rooms
- Silicone joints should be inspected annually and replaced every 3–5 years as preventative maintenance
- Professional shower sealing with epoxy grout provides a 10-year warranty against leaks
What Is Tiled Shower Sealing?
Tiled shower sealing involves applying a protective coating to tile and grout surfaces that reduces water absorption, prevents staining, and extends the life of your bathroom's tiled surfaces. It's an important maintenance step that complements your shower's waterproofing system.
There are two main types of tile sealers:
- Impregnating (penetrating) sealers — absorb into the tile and grout, blocking pores from within while maintaining the natural appearance. Best for natural stone and unglazed tiles.
- Topical (surface) sealers — form a protective film on the surface. Can alter the tile's appearance (often adding a slight sheen) but provide strong surface protection.
Our shower repair specialists can advise on the best sealer for your specific tiles and situation.
Benefits of Shower Tile Sealing
Professional tile sealing offers several practical benefits:
- Reduced water absorption — sealed tiles and grout absorb significantly less water, reducing moisture load on the waterproofing system
- Stain prevention — sealed surfaces resist staining from soap, shampoo, body oils, and hard water minerals
- Easier cleaning — sealed tiles are much easier to clean and maintain
- Extended grout life — reducing water absorption helps prevent grout deterioration
- Mould resistance — less moisture on surfaces means less mould growth
- Preserved tile appearance — sealed tiles maintain their original colour and finish for longer
Think of tile sealing as preventative maintenance for your shower — a modest investment that extends the life of your tiles, grout, and waterproofing system, potentially saving thousands in future repairs.
Understanding Tile Sealer Chemistry
Knowing how sealers work at a chemical level helps you choose the right product and set realistic expectations:
Penetrating/Impregnating Sealers
These sealers contain tiny molecular structures (typically silicone, siloxane, or fluoropolymer-based) that penetrate into the pores of the tile and grout. Once inside, they chemically bond to the substrate and create a hydrophobic (water-repelling) barrier within the material itself. Water and stains can't penetrate because the pores are occupied by the sealer molecules.
Advantages: Natural appearance maintained, breathable (allows moisture vapour to escape), durable, won't peel or flake.
Best for: Natural stone, unglazed ceramics, cement grout, and situations where a natural appearance is desired.
Topical/Surface Sealers
These sealers form a physical barrier on the surface of the tile, creating a coating that water and stains cannot penetrate. They can be acrylic-based (for a gloss or semi-gloss finish) or polyurethane-based (for maximum durability).
Advantages: Strong surface protection, enhanced appearance, easy to clean.
Considerations: Can make surfaces slippery when wet (not ideal for shower floors without anti-slip additives), may yellow over time, requires more frequent reapplication.
Tile Sealing for Different Tile Types
Different tile materials have very different sealing requirements:
Natural stone (marble, travertine, limestone): These are highly porous and must be sealed. Without sealing, natural stone absorbs water, stains, and cleaning products that can permanently damage the surface. Use a high-quality penetrating sealer designed specifically for natural stone. Reapply every 6–12 months in high-use showers.
Porcelain tiles: Glazed porcelain has low porosity and generally doesn't need sealing. However, unglazed or matte-finish porcelain tiles benefit from penetrating sealers, and the grout between porcelain tiles always benefits from sealing.
Ceramic tiles: Similar to porcelain — glazed surfaces don't require sealing, but unglazed tiles and grout lines benefit significantly. Sealing extends the time between deep cleans and prevents staining.
Mosaic tiles: Due to the high proportion of grout to tile surface, mosaics benefit enormously from sealing. The many grout lines create numerous potential water entry points, making sealing particularly important in shower floors where mosaic tiles are common.
If you're unsure about your tile type, our specialists can identify it during a free inspection and recommend the appropriate sealing solution.
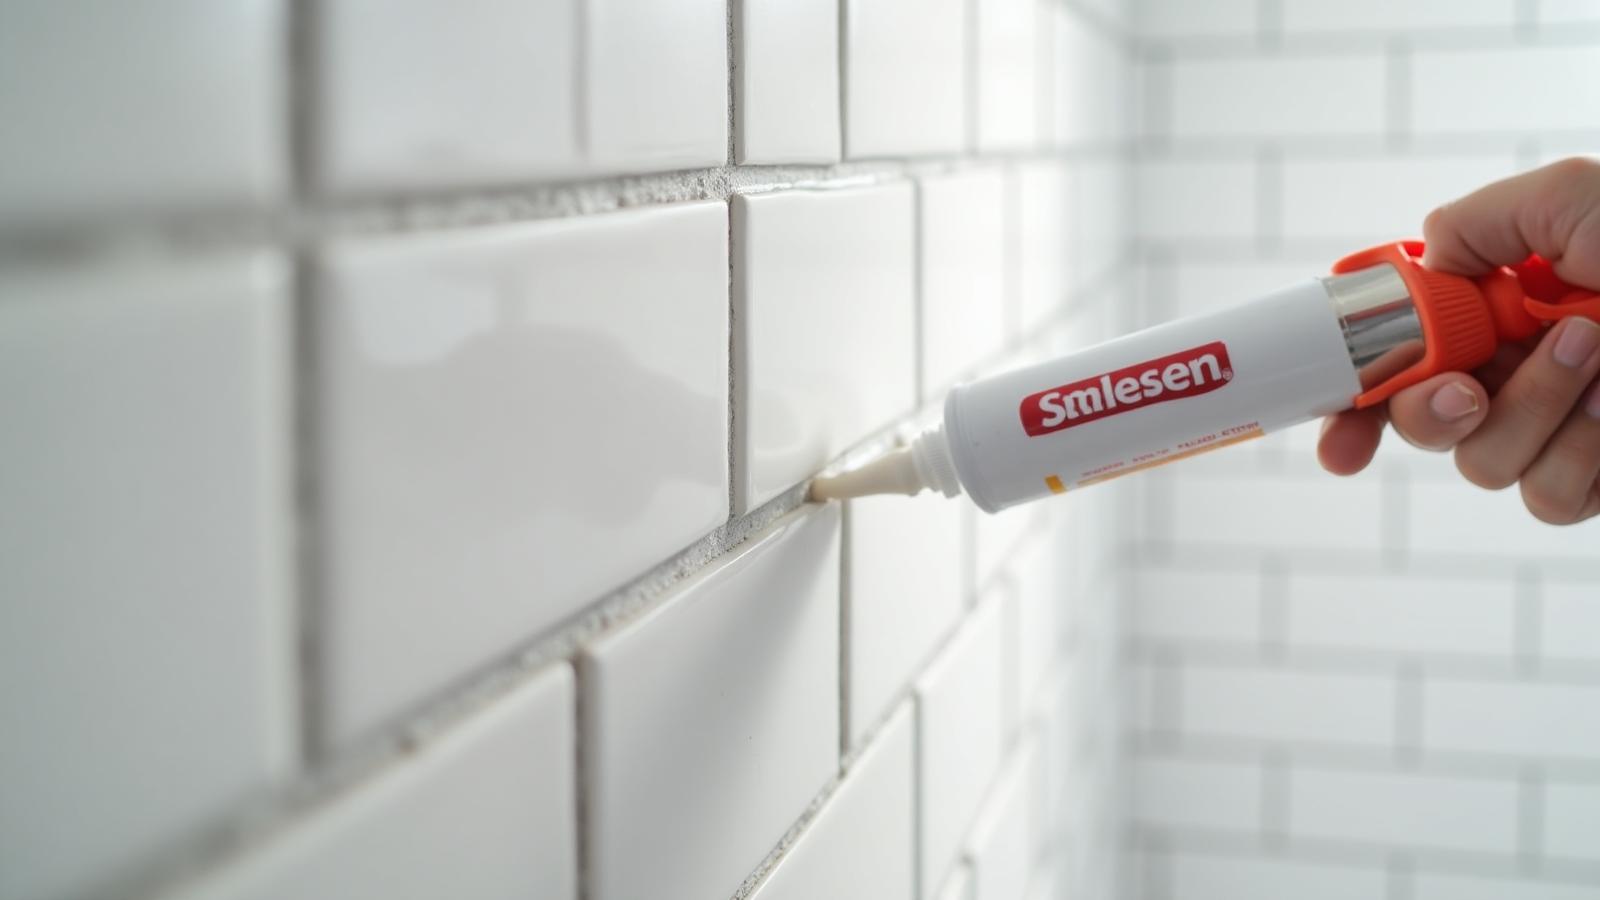
The Professional Sealing Process
Professional tile sealing follows a specific process for optimal results:
- Tile and grout assessment — identifying the tile type, porosity level, current condition, and any existing sealers
- Deep cleaning — thorough cleaning using appropriate products to remove all soap scum, mould, body oils, and mineral deposits. The surface must be completely clean for the sealer to bond properly.
- Drying — the surface must be completely dry before sealer application. For best results, tiles should be dry for at least 24–48 hours. Fans or dehumidifiers may be used to accelerate drying.
- Sealer application — even, consistent application using appropriate tools. For penetrating sealers, the product is applied liberally and allowed to soak in. Excess is removed before it dries on the surface.
- Curing — most sealers require 24–48 hours of curing time before the shower is used. During this time, the sealer bonds to the tile and grout substrate.
- Quality check — water droplet test to confirm the sealer is working correctly. Water should bead on the sealed surface rather than being absorbed.
Common Mistakes in DIY Shower Sealing
While DIY sealing is possible, these common mistakes can reduce effectiveness or damage tiles:
- Wrong product for the tile type — using a topical sealer on natural stone can trap moisture and cause the stone to deteriorate. Using a weak sealer on highly porous tiles provides inadequate protection.
- Insufficient surface preparation — applying sealer over dirty, oily, or damp surfaces prevents proper bonding and dramatically reduces effectiveness
- Applying too much — excessive sealer application can leave a hazy film on tile surfaces that's difficult to remove, particularly on natural stone
- Not allowing adequate drying time — applying sealer to damp tiles traps moisture beneath the sealer, potentially causing staining or mould growth
- Using the shower too soon — not allowing the sealer to fully cure before water exposure compromises the protection
- Forgetting the grout — sealing tiles but not grout leaves the most vulnerable component unprotected
For the modest cost of professional application ($150–$300 for a standard shower), you get correct product selection, thorough preparation, and guaranteed results. It's one of the most cost-effective maintenance investments you can make for your bathroom.
When to Seal Your Shower Tiles
Consider professional tile sealing in these situations:
- After new tile installation — seal before first use for maximum protection
- After epoxy regrouting — complement the waterproof grout with sealed tiles for comprehensive protection
- If you have natural stone tiles — marble, travertine, and sandstone are highly porous and require regular sealing
- As part of regular maintenance — reapply every 1–3 years depending on sealer type and usage
- If water no longer beads on tile surfaces — this indicates the existing sealer has worn off
- Before staining becomes an issue — sealing is preventative; it can't remove existing stains
We provide professional tile sealing services across Sydney, from Mosman to Campbelltown. For comprehensive protection, read our complete guide to leak repairs.
Tile Sealing as Part of a Complete Waterproofing Strategy
Tile sealing works best as part of a layered waterproofing approach:
Layer 1 — Waterproof membrane: The primary barrier beneath tiles (required by Australian Standards). This is your shower's main defence against water penetration.
Layer 2 — Waterproof grout: Epoxy grout between tiles creates a secondary waterproof barrier at the tile level. Unlike cement grout, it doesn't absorb water or deteriorate over time.
Layer 3 — Tile sealer: The outermost protection layer. Reduces water absorption at the tile surface, protecting both the grout and the membrane beneath from excessive moisture exposure.
Layer 4 — Silicone seals: Flexible sealant at all junctions, corners, and around fixtures accommodates movement and seals the gaps where rigid materials meet.
Each layer adds protection and extends the overall lifespan of your shower's waterproofing system. While any single layer may eventually need maintenance, having multiple barriers ensures that minor deterioration in one layer doesn't immediately cause a leak.
For a complete assessment of your shower's waterproofing status, contact us for a free inspection. We'll assess every layer and recommend the most cost-effective approach to comprehensive protection.
People Also Ask
Peter Kim
Lead Technician — Leak Repair Specialist
Over 15 years of experience in shower and balcony waterproofing solutions across Greater Sydney.