Key Takeaways
- Simple visual inspections and the 'flood test' can help identify shower and balcony leaks early
- DIY detection is a useful first step but professional equipment provides pinpoint accuracy
- Moisture meters and thermal cameras detect hidden leaks behind walls without demolition
- Early detection saves thousands — a $500 repair can prevent $10,000+ in structural damage
When You Can Detect Leaks Yourself — And When You Need Help
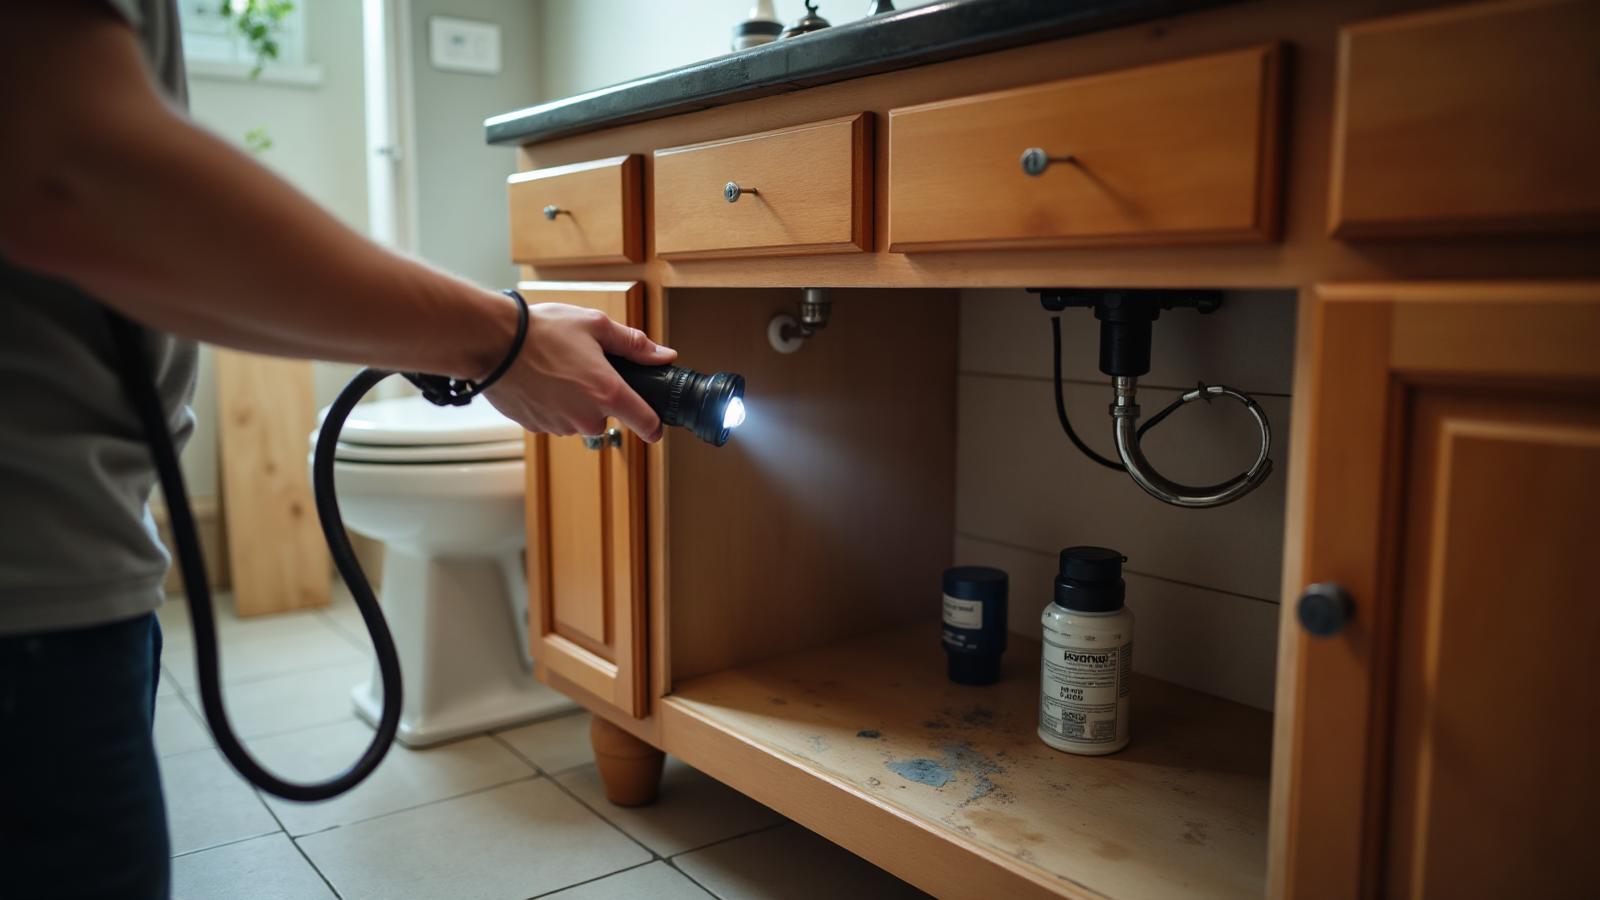
Not every leak requires an expensive professional investigation. Many homeowners can identify potential leak problems using simple observation and basic testing methods. However, it's equally important to know when a problem exceeds DIY capabilities and professional help is needed.
At Sydney Sealed, we believe in empowering homeowners with knowledge. In this guide, we'll walk you through practical DIY leak detection methods for showers and balconies, explain what the results mean, and help you understand when it's time to call in a specialist. Whether you're in Bondi or Blacktown, these methods work for any Sydney home.
DIY Shower Leak Detection Methods
If you suspect your shower is leaking, these tests can help confirm the problem before you call a professional:
Test 1: The Visual Inspection
Start with a thorough visual inspection of your shower and surrounding areas. Look for the warning signs of a shower leak including:
- Cracked, crumbling, or missing grout between tiles
- Loose or hollow-sounding tiles (tap them gently)
- Mould or mildew growth, particularly in grout lines and corners
- Deteriorated silicone around the shower base, screen, and fixtures
- Musty smell that persists even after cleaning
Test 2: The Shower Flood Test
This test specifically checks whether your shower base and membrane are holding water:
- Clean the shower drain and surrounding area
- Block the drain securely (a plastic bag filled with water works well)
- Fill the shower base with approximately 10–15mm of water
- Mark the water level with a piece of tape on the wall
- Leave for 24 hours — do not use the shower during this time
- Check the water level against your mark
If the water level has dropped, water is escaping through the shower base — indicating a membrane or drain seal failure. Also check the ceiling below (if your bathroom is on an upper level) for any signs of moisture.
Test 3: The Shower Wall Test
To test whether water is escaping through the shower walls (the more common leak path):
- Dry the shower completely and don't use it for 24 hours
- Check adjacent walls, floors, and ceilings for dampness — if they dry out completely, the shower is likely the source
- Then use the shower normally for several days
- Check the same areas again — if dampness returns, the shower walls are allowing water through
This test helps distinguish between a shower leak and other moisture sources like condensation or plumbing leaks.
DIY Balcony Leak Detection Methods
Balcony leaks can be trickier to detect than shower leaks because they're often only apparent during heavy rain. Here's how to investigate:
Test 1: The Balcony Flood Test
Similar to the shower flood test, but on a larger scale:
- Block all balcony drains
- Flood the balcony surface with approximately 20–30mm of water
- Leave for 4–6 hours (or longer for large balconies)
- Check the ceiling or walls below for any signs of water penetration
- Also check the exterior face of the building beneath the balcony edge
Note: This test should only be performed with care — ensure the water depth doesn't exceed the threshold height of any doors opening onto the balcony.
Test 2: The Rain Observation Test
After heavy rain, inspect the following areas:
- Ceiling directly below the balcony — water stains, damp patches, or active dripping
- Walls adjacent to the balcony — dampness or discolouration at the junction
- Balcony surface — areas where water pools or doesn't drain properly
- Grout lines and tile edges — signs of deterioration or cracking
- Perimeter joints — where the balcony meets the building wall
Test 3: The Hose Test
If leaks only occur during rain, you can simulate rainfall with a garden hose:
- Direct water onto different areas of the balcony surface, one section at a time
- Have someone monitor the ceiling below for moisture appearance
- Note which area of the balcony corresponds to the leak below
- This helps narrow down the leak source for professional investigation
Understanding Your Results: What Do They Mean?
Once you've completed your tests, here's how to interpret the results:
Shower base loses water (flood test): The waterproof membrane beneath the shower base has failed, or the drain connection is leaking. This typically requires professional repair — either membrane patching or, in more serious cases, complete re-waterproofing. An epoxy grout repair may also be part of the solution.
Dampness appears during normal shower use but not during the flood test: The leak is likely through the shower walls rather than the base. Failed grout is the most common cause — water penetrates through deteriorated grout lines when it runs down the walls during showering. This is typically repairable with professional epoxy grout replacement.
Balcony leaks during heavy rain only: Wind-driven rain is entering through cracked grout, failed perimeter seals, or compromised balustrade junctions. These are often repairable without full membrane replacement.
Balcony leaks during flood test: The membrane has failed and is allowing water to pass through to the substrate below. Professional assessment is recommended to determine whether targeted repair or full membrane replacement is required.
When to Call a Professional: Red Flags That Need Expert Assessment
While DIY detection can identify the presence of a leak, professional assessment is essential when:
- You can see damage but can't find the source — water travels along unexpected paths. The stain on your ceiling may not be directly below the actual leak source
- Multiple areas show water damage — this may indicate a systemic waterproofing failure rather than a single point of entry
- The building is a strata property — strata leaks require professional documentation for dispute resolution and insurance purposes
- There's visible concrete degradation — spalling or concrete cancer requires specialist assessment and structural repair
- Previous repairs haven't resolved the problem — recurring leaks often indicate the root cause hasn't been addressed
- Mould is widespread — significant mould growth suggests long-term moisture exposure that needs professional remediation
Professional leak detection specialists use advanced tools including thermal imaging cameras, moisture meters, and electronic leak detection equipment to pinpoint sources accurately. This precision eliminates guesswork and ensures repairs target the actual problem.
The Value of Professional Leak Detection
While the DIY methods above are useful first steps, professional leak detection provides several advantages that justify the investment:
- Accuracy — advanced equipment pinpoints the exact leak source, not just the area of visible damage
- Non-destructive — professional detection methods avoid unnecessary tile removal or wall opening
- Comprehensive assessment — professionals identify all leak sources, including secondary issues you might miss
- Documentation — professional reports support insurance claims, strata disputes, and building sale disclosures
- Repair recommendations — a professional can advise on the most cost-effective repair method for your specific situation
At Sydney Sealed, we offer free initial inspections for shower and balcony leaks across all Sydney suburbs, from Mosman and Manly to Liverpool and Penrith. Our experienced technicians can quickly determine whether your leak requires professional repair and provide a clear, honest quote with no obligation.
Don't let a small leak become a big problem. Whether you've identified signs through your own testing or you just want peace of mind, contact us today for expert advice.
People Also Ask
Peter Kim
Lead Technician — Leak Repair Specialist
Over 15 years of experience in shower and balcony waterproofing solutions across Greater Sydney.