Key Takeaways
- Sanitary-grade 100% silicone is the safest choice for most active wet-area joints
- Acrylic caulk can crack in a shower because it dries too rigid for movement
- The joint must be clean, dry and residue-free before any product will last
- Sealant choice should match the surface: tile, tray, glass, stone or metal trim
Why Sealant Choice Matters
You scrub that stubborn black spot in the corner of your tub, but it refuses to vanish. That tiny blemish isn't just a cleaning headache; it is the first quiet signal that your shower sealant has retired (your bathroom sealant may be past its prime). Cracking edges, a yellowish tint, and peeling strips are three subtle signs of failure you should never ignore.
Think of this rubbery line as a custom-fit waterproof gasket and sealant protecting the hidden areas of your home. It acts as a vital structural barrier sealing the gap where your tiles meet the tub, keeping water from rotting the wood framing behind the wall.
According to home insurance data, a slow drip escaping a shower is a leading cause of massive internal water damage. Fixing this issue yourself is actually the most cost-effective DIY skill a homeowner can master. In practice, spending an afternoon applying a $10 tube of quality shower caulk or waterproof sealant often saves you from a devastating $5,000 floor replacement.
Mastering this essential leak prevention tactic looks intimidating, but anyone can achieve a professional finish. Taking charge of your own shower repair simply comes down to picking the correct product - and choosing the best shower sealant for your specific surface.
Silicone vs. Acrylic: Why Your Choice Could Save You Thousands in Water Damage
Have you ever noticed a hairline crack forming where your tub meets the tiles? Because your shower naturally flexes when you step inside, using the wrong bathroom sealant invites expensive leaks behind your walls. Acrylic is like stiff plastic - perfect for solid baseboards, but it snaps under the pressure of movement. Silicone acts like a heavy-duty rubber band. This built-in elasticity means a true silicone sealant in a silicone shower application stretches and compresses without ever breaking its waterproof seal.
When standing in the hardware aisle choosing between sanitary silicone vs acrylic caulk, keep this simple checklist in mind:
- Flexibility: Silicone stretches with shifting tubs; acrylic turns rigid and cracks.
- Lifespan: Silicone easily survives a decade of daily showers; acrylic often fails within months.
- Water Resistance: Pure silicone completely repels water, whereas acrylic can actually absorb moisture.
Always grab a tube labeled "Sanitary Grade" - this simply means it contains special mould resistant ingredients to keep damp corners clean. You'll often see it sold as a shower silicone sealant or bathroom sealant. You can choose a white finish to seamlessly blend a white tub against white tile, or clear to make the joint disappear against coloured patterns. However, buying the perfect stretchy, mould resistant silicone is only half the battle. Even premium products peel off like cheap stickers if applied over a dirty surface, which means proper preparation is essential for successful sealant application.
If grout, membrane or waste details have also failed, a surface seal will not solve the leak. Diagnosis comes first.
See the 7-point leak assessmentThe No-Fail Prep Routine: Removing Old Caulk and Banishing Residue for Good
Slapping fresh silicone over a failing seal is the most common mistake beginners make during a shower repair. Think of your new sealant like a heavy-duty bandage; applied to a dirty surface, it will peel right off. New silicone cannot stick to old silicone, meaning every trace of the previous barrier must go before you even open a new tube.
Gathering the right supplies prevents accidental scratches to your tub while scraping away stubborn bits. To master how to remove old bathroom caulk safely, grab four inexpensive items:
A plastic caulk remover tool (protects acrylic tubs from damage)
A sharp utility knife
Isopropyl alcohol (for final cleaning)
A stiff scrub brush
Perfect surface preparation for new caulk requires two phases: mechanical and chemical removal. First, use your utility knife and plastic tool to physically slice and peel away the bulk of the old rubber - this is the mechanical step. Since invisible soap scum usually remains behind, the chemical step involves scrubbing the naked joint with alcohol to completely dissolve whatever your scraper missed.
You will know you are ready for the fun part when the joint passes the "Squeak Test." Run your bare finger along the dried, empty gap; if it squeaks loudly like a freshly washed glass, the surface is flawlessly prepped and ready for fresh sealant.
The Perfect Bead: Mastering the Caulking Gun Like a Pro
Staring down a loaded caulk gun feels intimidating when you want that flawless line seen in luxury bathrooms. Fortunately, proper caulking gun sealant application technique requires a few simple tricks rather than years of construction experience. The secret to a leak-proof shower caulk job is controlling the flow from start to finish.
Instead of dragging the tube backward like drawing with a pencil, professionals use the "push" method. Driving the gun forward ahead of the sealant physically forces the rubbery material deep into the open joint, ensuring it anchors securely to both the tub and the wall.
- Apply your fresh sealant using this straightforward sequence:
Slice the plastic nozzle at a sharp angle to create a small, 45-degree bead opening.
Position the gun so the angled tip sits completely flat across the empty gap.
Squeeze the trigger steadily while actively pushing the tool forward.
Release the pressure lock immediately upon reaching a corner to stop any messy oozing.
After filling the joint, you may wonder how to get a smooth caulk line without turning your hands into a sticky nightmare. The magic solution is using a smoothing surfactant, which is simply a professional term for lightly misting the wet silicone with soapy water. This slick barrier temporarily stops the material from clinging to your skin or smearing onto clean tiles.
A gentle, continuous wipe down the joint with your wet finger leaves behind a beautifully crisp edge. With the active work now complete, ultimate success relies entirely on allowing proper curing time.
The 24-Hour Rule: Navigating Curing Times to Prevent Premature Seal Failure
You just finished smoothing the perfect edge, and the temptation to finally use your shower is high. However, patience is your best tool right now because your fresh bead needs to undergo a complete chemical change. Paint simply dries by letting its liquid evapourate into the air, but a true waterproof sealant actually "cures." This invisible transformation turns the sticky paste into a flexible, watertight rubber gasket that protects your walls.
Surprisingly, the air inside your house acts as the invisible catalyst for this hardening process. Silicone pulls atmospheric moisture right out of the room to solidify itself from the outside in. This unique chemical reaction means the drying time for bathroom silicone changes slightly depending on your home's indoor climate. If you rush things and turn on the shower too soon, the pressurised water will easily wash out the uncured centre, instantly ruining your hard work.
Giving the joint a full 24 hours guarantees that the core of your new bathroom sealer is completely solid. Waiting ensures the material achieves maximum elasticity, effortlessly surviving the daily weight shifts of your tub without peeling away. While the tub edges are secure, the surrounding tiled walls require a different waterproofing approach.
Beyond the Edges: When to Use Grout Sealant vs. Silicone
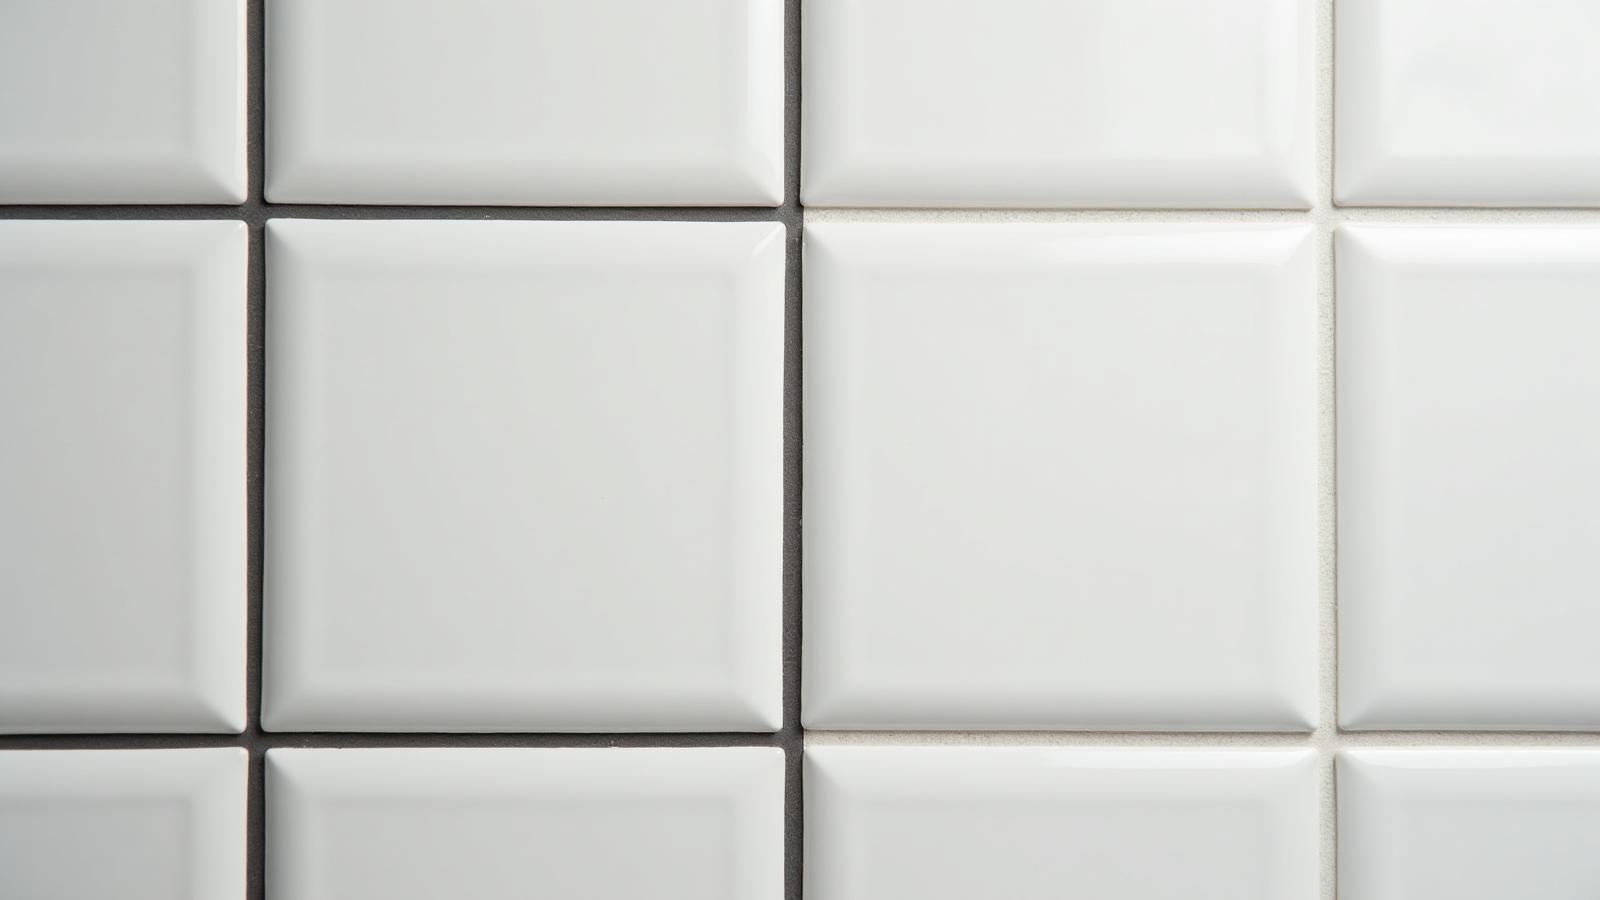
Securing your tub edges is crucial, but the cement grid between your tiles holds a hidden vulnerability. Because standard grout is cement-based, it naturally acts like a microscopic sponge. If you have ever asked, "why is my bathroom grout cracking," the culprit is often this high porosity. Daily shower water seeps into these tiny holes, slowly expanding and weakening the structure from the inside out. To stop this invisible damage, you need a penetrating grout sealant for shower walls that sinks deep into these pores instead of just sitting on the surface like a topical paint.
- Knowing your materials makes the job foolproof:
- Grout sealant: A thin liquid that soaks into cement lines to block water internally.
- Shower screen sealant: Thick, rubbery silicone used exclusively for corners and glass edges.
- Joint filler: The actual cement paste originally packed between your tiles.
Applying this shower tiles sealant is easy. Paint the liquid carefully onto the grout lines and immediately wipe any accidental drips off the glazed tile to prevent cloudy stains.
Testing your current protection takes seconds. Splash water onto the wall; if it beads up like rain on a waxed car, you're safe. If the cement darkens and absorbs moisture, re-seal immediately. Setting these barriers creates a perfect waterproof foundation that requires only minimal maintenance to stay mould-free.
For tiny pinhole leaks around drains or screw penetrations, a shower plug sealant can provide a quick, temporary fix until you can complete a full reseal.
Maintenance Hacks: How to Keep Your Sealant Mould-Free for 5+ Years
You might think fresh silicone is invincible, but even mould resistant products need help, especially in a silicone shower that sees daily use. Daily bathing leaves a sticky, invisible layer of soap scum and body oils on those rubbery edges. Experts call this a "biofilm," but for basic shower maintenance, just think of it as a microscopic buffet for mildew.
Attacking this slime with harsh bleach actually weakens the sealant, causing premature peeling and eventual leaks. Instead, adopt a pH-neutral maintenance routine using mild dish soap that cleans the surface without dissolving your waterproof barrier. Preventing mould growth in corners also means starving those spores of moisture, so running your exhaust fan for twenty minutes post-shower works wonders.
Combining gentle cleaning with consistent airflow stops fungal damage before it ever takes root, ensuring a long-lasting, watertight seal.
Your Waterproof Roadmap: 3 Steps to a Maintenance-Free Shower
Applying shower sealant looks like a professional-only job, but you now have the exact skills to master it. By remembering that preparation is 90% of the battle, you have transformed a daunting chore into a simple, high-return DIY win.
Put your knowledge into action without making the rookie mistake of rushing the cure time. Use this 48-hour 'Weekend Warrior' checklist to guarantee ultimate leak prevention:
- Friday: Buy the best waterproof bathroom adhesive (100% silicone shower sealant) and a basic caulk gun.
- Saturday: Scrape out the old material, clean the gap, and let it dry thoroughly.
- Sunday: Apply your new shower sealant, smooth the bead, and leave it alone to fully cure.
You no longer have to ignore dark spots or worry about hidden water damage. Proper preparation and application create a clean, watertight barrier that delivers a flawless professional finish and permanently prevents future leaks.
People Also Ask
Peter Kim
Lead Technician — Leak Repair Specialist
Over 15 years of experience in shower and balcony waterproofing solutions across Greater Sydney.