Key Takeaways
- Resealing works only when old silicone and residue are fully removed
- A dry, clean joint is more important than a fast application
- Silicone handles corners and movement joints; grout handles tile joints
- Water damage behind walls means inspection should come before resealing
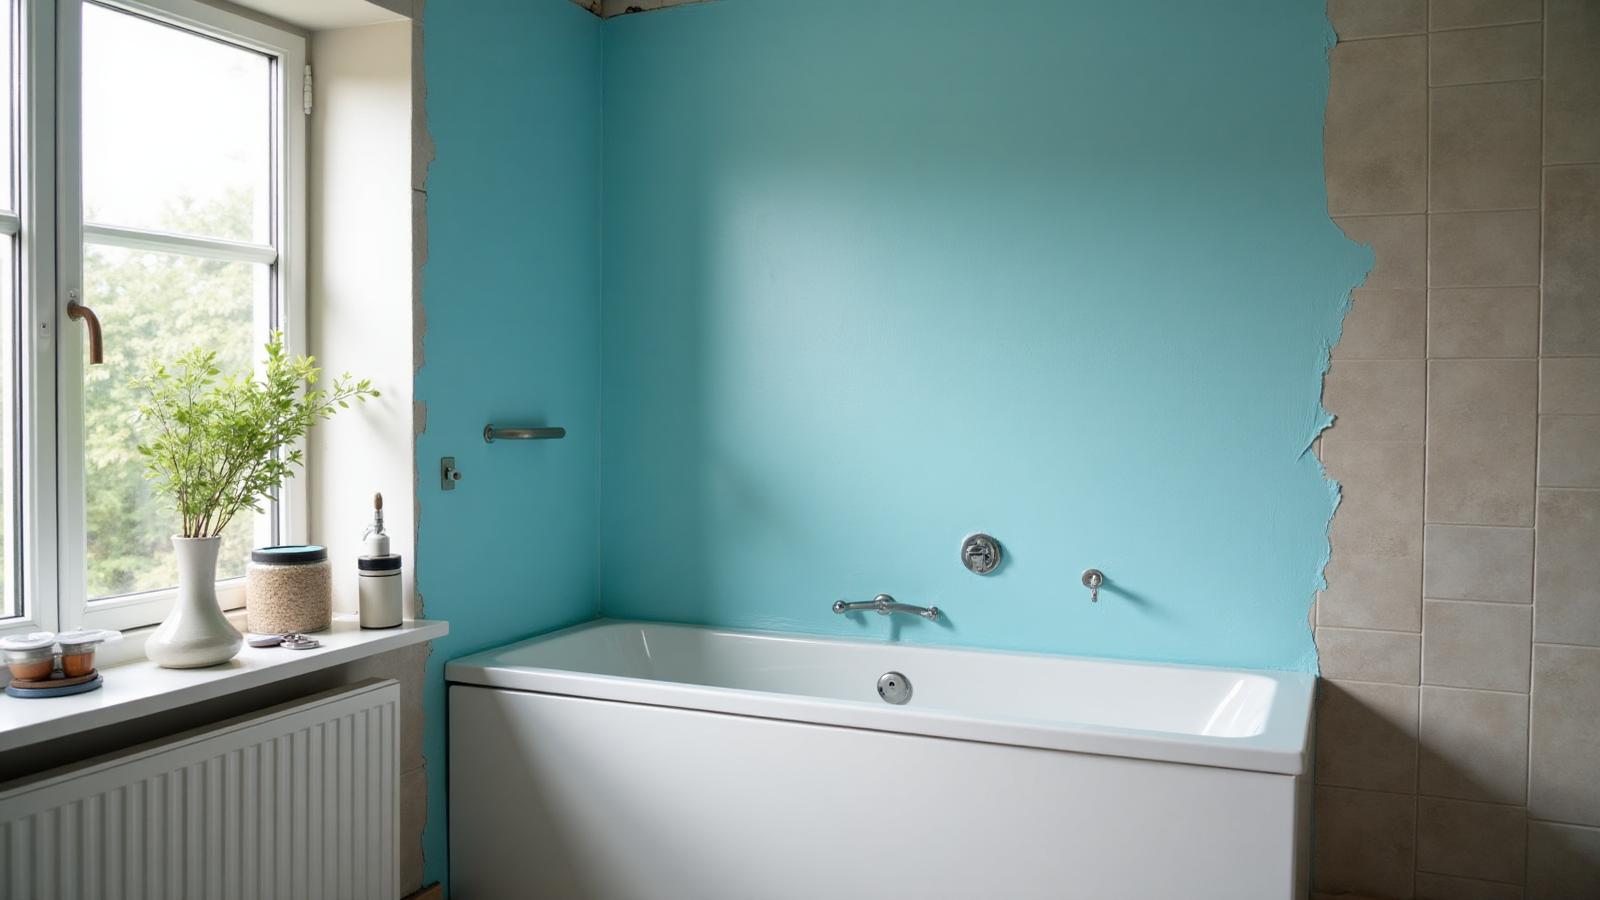
What Shower Resealing Actually Involves
A bathroom should be your personal sanctuary - a place to wash away the stress of the day. But when you step into your enclosure and are greeted by peeling silicone, black mould, or worse, water pooling outside the cabin, that sanctuary quickly becomes a source of stress.
Welcome to the ultimate guide on resealing shower spaces and bathroom resealing best practices. Whether you are dealing with a minor mould issue or undertaking a complete bathroom sealing project, keeping your wet areas watertight is one of the most critical maintenance tasks for any homeowner. A compromised seal doesn't just look unsightly; it can lead to devastating structural damage.
In this comprehensive guide, we will walk you through everything from how to remove old silicone from shower walls to mastering professional shower caulking techniques. Let's roll up our sleeves and get your bathroom looking and performing like brand new.
Why You Cannot Afford to Ignore a Failing Seal
Have you recently found yourself asking, "Why is my shower sealant peeling?" Sealants degrade over time due to constant exposure to moisture, fluctuating temperatures, harsh chemical cleaners, and natural house settling. When that seal breaks, water finds a way behind your tiles and shower tray.
Ignoring this seemingly small issue can lead to catastrophic consequences. You should always be on the lookout for signs of water damage behind shower walls, which include:
Musty, damp odours that persist even after cleaning.
Tiles that sound hollow when tapped or feel slightly loose.
- Peeling paint or blistering drywall on the room's adjacent walls.
Water stains on the ceiling of the room directly below your bathroom.
Sydney Sealed confirms whether resealing, epoxy regrouting or membrane repair is needed after the on-site leak assessment.
Request a free quoteGathering Your Supplies: Tools and Materials
Before starting your shower resealing project, you need to gather the right materials. Using the wrong products will guarantee that you'll be repeating this process in a few months.
- Here are the essential tools needed for bathroom recaulking:
- Utility knife or a dedicated caulk removal tool
Needle-nose pliers or tweezers (for pulling out stubborn bits of old caulk)
Stiff bristle brush and vacuum
Mould-killing spray or household bleach
Rubbing alcohol (isopropyl alcohol) or mineral spirits
Masking tape (painter's tape)
A high-quality caulking gun
Caulk profiling tool (or a spray bottle of soapy water)
Choosing the Right Sealant
When standing in the hardware store, you'll likely face the debate of silicone vs acrylic caulk for wet areas . For any bathroom resealing job, 100% silicone is the undisputed champion. Acrylic caulk shrinks as it dries and lacks the flexibility needed to handle the expansion and contraction of shower joints, leading to quick failure. 100% silicone remains permanently flexible and completely waterproof.
If you want the best waterproof sealant for bathroom tiles , you must also understand the difference between acetoxy and neutral cure silicone:
Acetoxy Silicone: Cures by releasing acetic acid (giving off a strong vinegar smell). It cures very quickly and adheres brilliantly to non-porous surfaces like glass and glazed ceramic.
Neutral Cure Silicone: Releases a non-acidic vapour, meaning it has almost no odour. It is the perfect choice if you have natural stone (like marble or granite) or metal fixtures, as the acid in acetoxy silicone can cause staining or corrosion.
Step 1: Preparation is Key (Removal and Cleaning)
The secret to a flawless resealing shower floor or wall project lies entirely in the preparation. New silicone will not stick to old silicone, nor will it adhere to wet, soapy, or mouldy surfaces.
Removing the Old Sealant
Learning how to remove old silicone from shower joints is your first hurdle. Take your utility knife or caulk removal tool and carefully slice along the top and bottom edges of the old caulk bead. Pull the strip away. For stubborn pieces, use your needle-nose pliers. You must ensure the joint is completely bare.
Cleaning and Treating the Joint
Once the bulk of the caulk is gone, focus on clearing debris from shower expansion joints. Use a vacuum to suck up any loose dust or dry caulk crumbs.
If you notice black spots in the empty joint, you must focus on treating mildew before applying new sealant. Spray the area generously with a mould killer or a diluted bleach solution. Scrub with a stiff brush, let it sit for 10-15 minutes, and then rinse it thoroughly. Failing to kill the spores now means the mould will simply grow back underneath your brand-new sealant.
Finally, wipe the entire joint down with rubbing alcohol. This strips away any lingering soap scum, body oils, or moisture. The joint must be 100% bone-dry before you proceed.
Step 2: Applying the New Sealant (The Fun Part)
If you have never used a caulking gun before, don't panic. Mastering the caulking gun technique for beginners just takes a little patience.
Prepping the Tube
Cut the tip of your silicone tube at a 45-degree angle. The size of the hole determines the size of the caulk bead - start small, as you can always cut it wider if needed. Pierce the foil seal inside the nozzle with the long metal puncture tool attached to your caulking gun.
- Pro Tip: For incredibly crisp, straight lines, apply two strips of painter's tape above and below the joint, leaving a small gap for the silicone.
Applying the Bead
Whether you are looking to reseal shower base edges or vertical wall corners, consistency is key. Place the angled tip against the joint. Gently squeeze the trigger until the silicone flows, and move the gun steadily along the joint. Try to complete one entire length in a single, continuous motion.
When you reseal shower floor boundaries where the tiles meet the tray, ensure the silicone is pushed deep into the gap to create a robust, watertight barrier.
Smoothing the Joint
Applying a smooth caulk bead is crucial for both aesthetics and hygiene. Water pools in lumpy caulk, accelerating mould growth. Immediately after laying down the bead, mist it lightly with soapy water (this stops the silicone from sticking to you). Run a caulk profiling tool - or your wet index finger - along the joint with smooth, even pressure. If you used painter's tape, peel it off immediately while the silicone is still wet, pulling it away at a sharp angle.
Step 3: Let It Cure (Patience Required)
One of the most common questions homeowners ask is, "How long does shower caulk take to dry?"
There is a massive difference between being "dry to the touch" and fully cured. Most 100% silicone sealants will form a dry skin within 30 to 60 minutes. However, exposing the fresh seal to the direct flow of a hot shower too early will ruin the chemical curing process.
Always wait a minimum of 24 to 48 hours before using the shower. Check the manufacturer's label on your specific tube, as humidity and temperature can affect curing times.
Beyond the Edges: Grout and Full Waterproofing
Caulk is designed for corners and changes in plane (where walls meet, or where walls meet the floor). But what about the flat surfaces?
If your tiled walls are looking dingy or water is seeping through, you may need to reseal shower grout as well. Grout is naturally porous. Every 1 to 2 years, you should be resealing shower tiles and grout lines with a penetrating sealer.
Using a high-quality, mould resistant bathroom grout sealer creates an invisible barrier that forces water to bead up and roll down the drain, rather than soaking into the walls. This dual approach - maintaining both silicone joints and grout lines - is the absolute gold standard in preventing mould growth in shower joints.
Understanding Costs and Knowing When to Call a Pro
If you are a DIY enthusiast, the shower resealing cost is incredibly low. A good tube of silicone, a caulking gun, and some basic tools will run you anywhere from $20 to $50.
However, if you uncover severe rot behind the walls, or if you are fixing a leaking shower tray that requires lifting the base to repair plumbing, it is time to step back. In these scenarios, doing a quick web search for "shower resealing near me" or "local bathroom waterproofing experts" is the smartest move. Professional resealing and repair typically range from $150 to $500, depending on the severity of the damage and the size of the enclosure.
Long-Term Shower Maintenance Tips
Congratulations! Your shower is newly sealed, brilliant white, and fully watertight. Keep it that way by following these essential shower maintenance tips:
- Ventilation is Vital: Always run your bathroom exhaust fan for at least 20 minutes after showering to clear out ambient humidity.
Squeegee Daily: Keep a small squeegee in the shower and wipe down the glass and tiles after every use. Removing standing water is the ultimate defence against mould.
Avoid Acidic Cleaners: Harsh chemical cleaners containing heavy acids can eat away at silicone over time. Stick to mild soaps, or specialist, gentle bathroom cleaners for your regular scrub-downs.
Inspect Regularly: Check your sealant every six months. If you spot a tiny tear or a small area peeling away, patch it immediately before water can penetrate behind it.
Conclusion
Properly resealing shower joints is an incredibly rewarding weekend project. By using the right materials, strictly adhering to preparation steps, and applying professional smoothing techniques, you guarantee a pristine, watertight finish. Don't wait for a leak to force your hand - grab your caulking gun, refresh your bathroom, and enjoy your clean, safe, and beautiful daily sanctuary.
People Also Ask
Peter Kim
Lead Technician — Leak Repair Specialist
Over 15 years of experience in shower and balcony waterproofing solutions across Greater Sydney.